How to set a Picture as a Background on PowerPoint
Create a Picture background using the Table Background Tool
Open Microsoft PowerPoint.
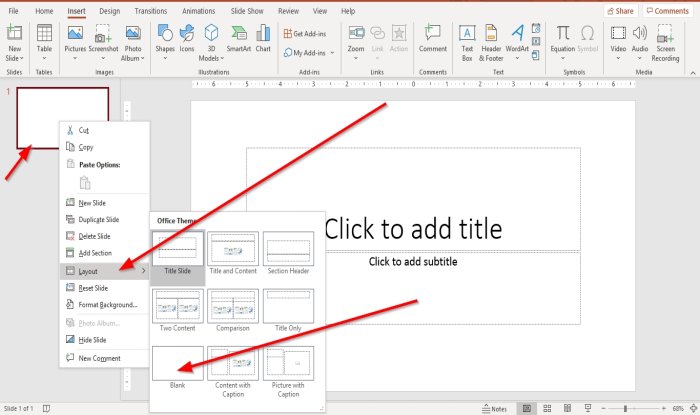
Right-click on the slide and click Layout and select Blank Slide.
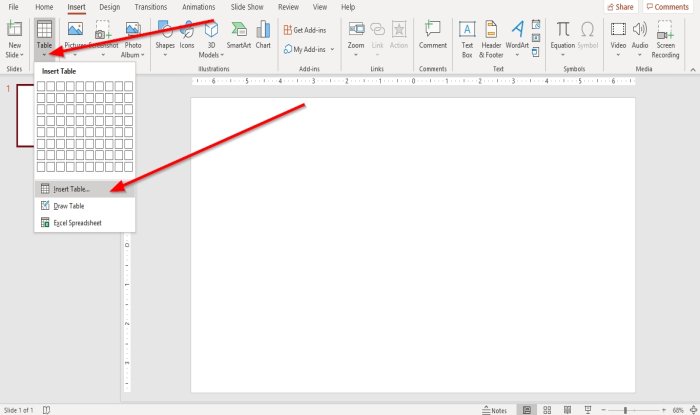
Then go to the Insert tab and click Table; a drop-down list will appear; select Insert Table.
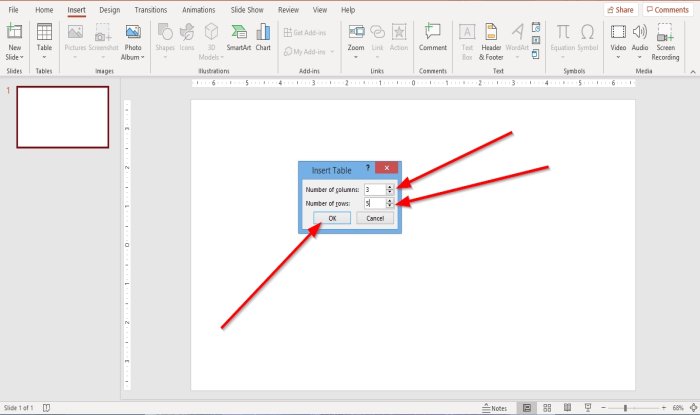
An Insert Table dialog box will appear. You can choose to select the number of Columns and Rows you want in the table, then press OK. The table is created.
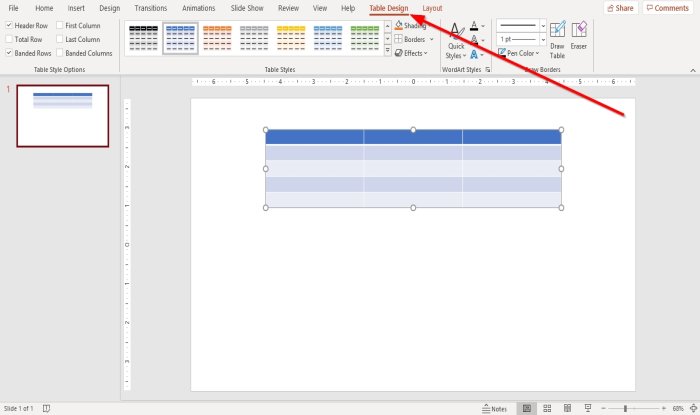
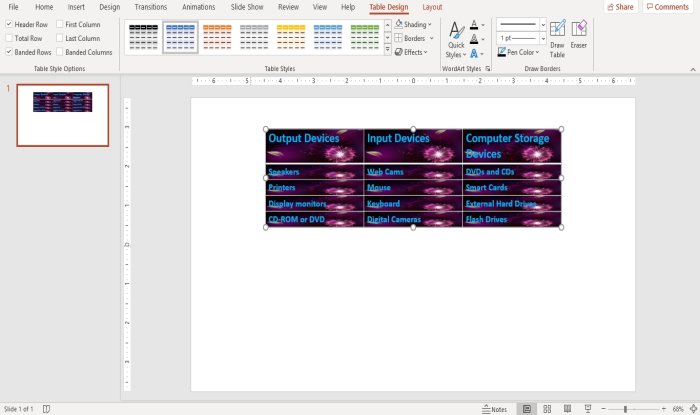
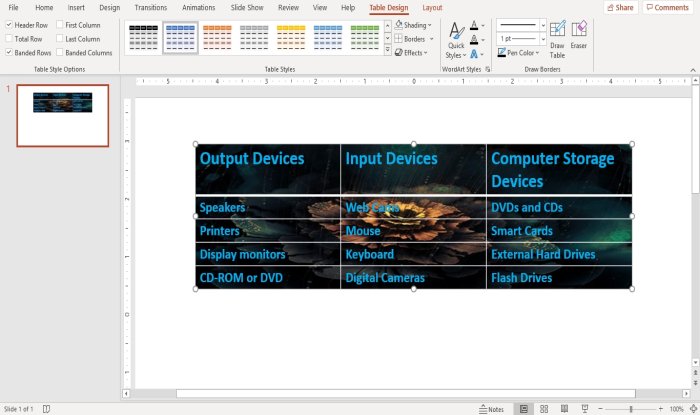
When the table is created, a Table Design tab will appear. If you haven’t click on the table, click on it, and the Table Design tab will appear.
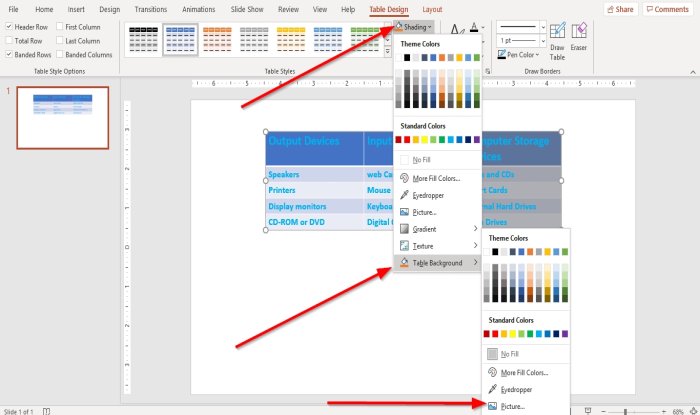
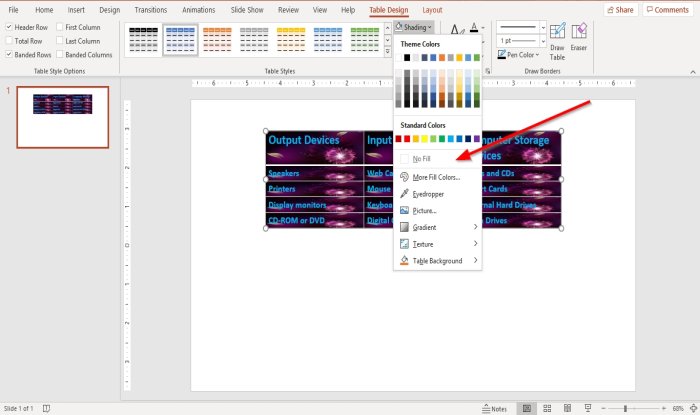
In the Table Design tab, in the Table Styles group. Select Shading, in its drop-down list, choose Table Background, then Picture.
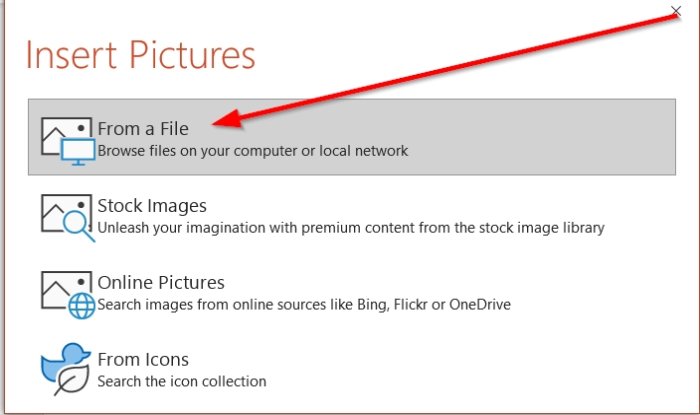
An Insert Picture Window will pop up; select From a File. An Insert Picture dialog box will appear; choose your desired picture from your files, then click Insert.
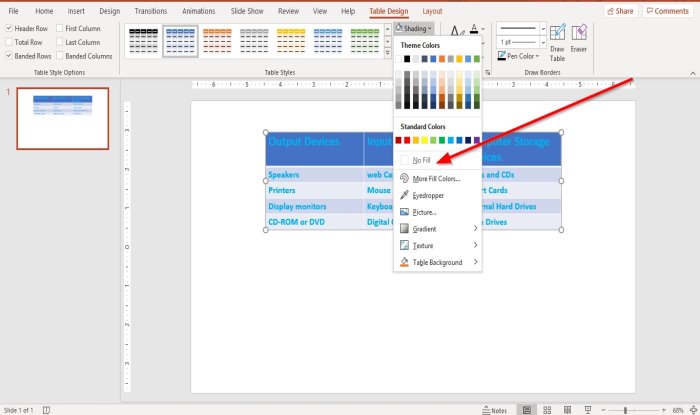
You will not see a picture background within the table. Click the table and click the Shading tool again and in its drop-down list, select No Fill.
You will see the background image in the table.
Create a Picture Background using the Picture Tool
Using the Picture tool is another option to put a background image inside your table. Click the table.
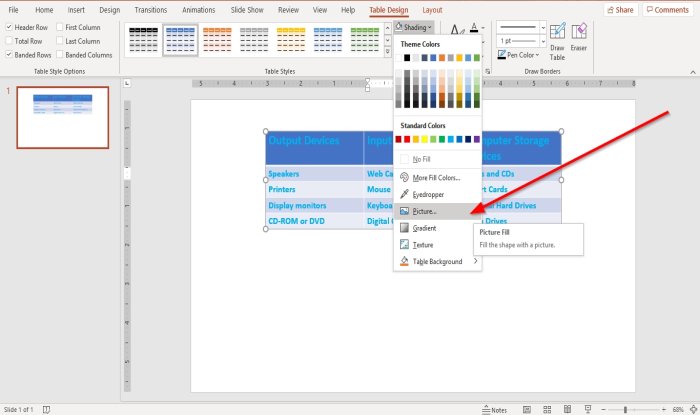
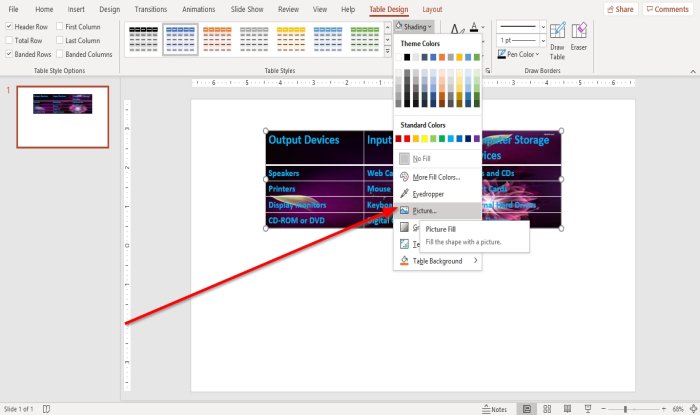
Go to the Table Design tab in the Table Styles group. Select Shading, in its drop-down list, select Picture.
An Insert Picture Window will appear; select From a File. An Insert Picture dialog box will pop up, choose the picture you want from your files, then click Insert.
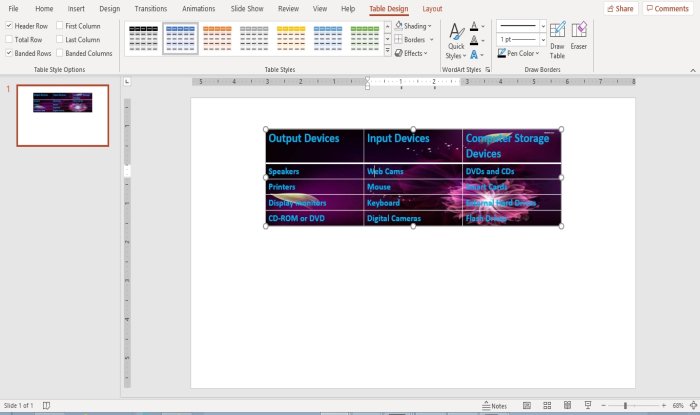
The picture is inserted into multiple cells within the table, but we do not want that; we want it to be one background for all cells, so; we will organize the picture.
Click the table and click Shading again and in its drop-down list, select No Fill.
The image is now a complete background in your table.
Change the Picture Background in a PowerPoint Table
Click the table.
Go to the Table Design tab. Click the Shading tool. In the Shading tool drop-down list. Click Table Background and select Picture.
An Insert Picture window will appear; select Insert from a File. An Insert Picture dialog box will pop up, choose a picture, then click Insert.
The Background Picture is changed within the table. I hope this is helpful; if you have a question, please comment below. Now read: How to create a Particle Text effect or Explosion animation in PowerPoint.

title: “How To Set A Picture As A Background On Powerpoint” ShowToc: true date: “2022-12-17” author: “Mary Mickel”
Set a picture as a background on PowerPoint
The cool thing here is the fact that folks can use whatever image they want for a background. Just bear in mind that when using an image, it should be of the right size because a small one would get stretched to fit the area, and that will likely cause distortion. With that in mind, you will always want to select a high definition picture to be on the safe side. Let us talk about this from a more detailed perspective.
1] Go to Format Background section
OK, so the first thing you must do is fire up PowerPoint and select the presentation you want to work with. From there, we suggest clicking on Design, and from the Customized section, you will want to click on Format Background.
This section should appear on the right side of the Slide with quite a few features to work with.
2] Insert picture when ready
After firing up the Format Background section, we now suggest clicking on Picture or texture fill. Once this is done, you should now see several new options below Picture Source, but we won’t be working with those many features just yet. The plan is to add an image and we’re going to do that by clicking the button that says Insert. From here, locate the image you want and add it to your PowerPoint Slide right away. You can choose from either From a File, Online Pictures, Stock Images, or From Icons.
It doesn’t matter which method is used because once the image is selected, it will appear on the Slide.
3] Make the image transparent
Chances are, once the picture is added, you won’t be able to see the text properly, therefore, the best option to make the image transparent just a little bit. Below the section that says Picture Source, you should see Texture, and right under that, is Transparency. Drag the button to the left or right to decide the level of transparency for your photo until you’re satisfied with the results.
4] Apply to all slides
We should point out that it is possible to add the background image with all the changes made to all Slides. From the same Format Background section, please select Apply to All and watch as the picture appears on every other Slide. If you dislike your work, click on Reset Background to begin from scratch once more.
![]()
![]()
