Whatever your purpose is, if you are creating a PPT file, you should know how to make it look better. A background color, cool fonts, etc. can help you. However, the most important thing is the image, which can make or break the deal between you and your client. There are countless image editors available in the market. However, if you are in a hurry, you need to make minimal changes in your image, and you do not want to use another tool to edit one picture, you can take the help of in-built options of Google Slides. For your information, you can make only necessary changes like size adjustment, brightness/contrast management, etc. Here is a list of what and how you can do everything.
How to edit images in Google Slides
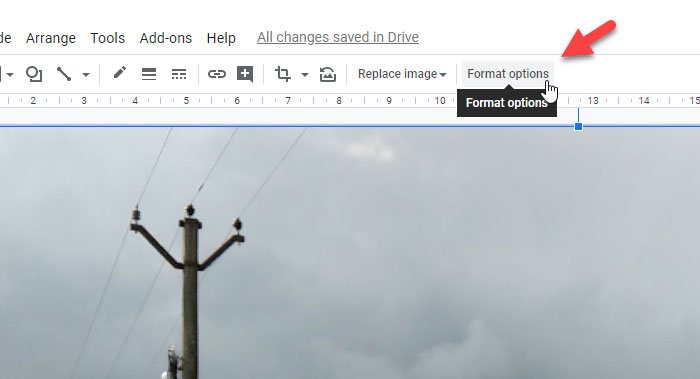
To edit images in Google Slides, follow these steps- At first, open a presentation where you want to insert the image. It can be an existing or a new presentation. After opening that in Google Slides, you need to add the image. In case you do not know the process, click on the Insert > Image. After that, you can choose a source and insert a picture by following the screen instructions. After inserting, you can see a button called Format options under the navigation menu. Click on it to get all the image editing related options on your right-hand side.
Here is a list of the options that you can find-
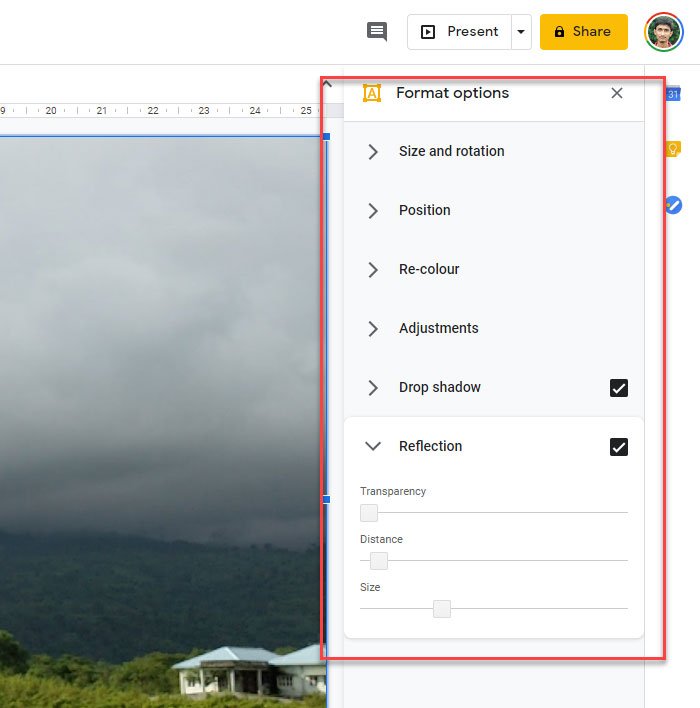
Size and rotation: It allows you to tweak the default dimension of the picture. You can change it by unit or percentage. Apart from that, you can rotate the image.Position: You can select the location where you want to show the image on the slide.Re-colour: If the default color is not good enough for your presentation, you can make use of this option to apply a different effect.Adjustment: You can adjust the transparency, brightness, and contrast of the image.Drop-shadow: You can grab the attention of the viewer by adding the drop-shadow. In that case, you can add a drop-shadow to your image, change the transparency level of the drop-shadow, angle, and blue radius.Reflection: If you want to show a reflection under the original image, you can toggle this option. It is possible to change the transparency level, distance, and size of the reflection.
In case you want to save the edited image to your computer, you need to go to File > Download > JPEG image/PNG image. It will download the whole slide. The only problem with this process is that you need to crop the image later if the dimension of the image and slide are different. I hope you find this tutorial useful.