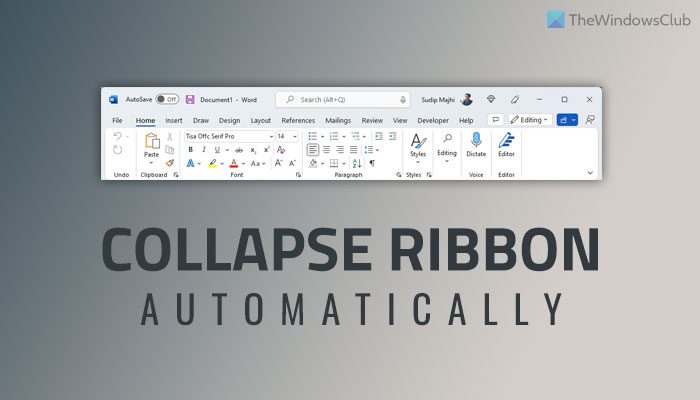
What is Ribbon in Word, Excel, and PowerPoint?
When you open these apps on your computer, it displays a section on the top of your screen, which includes some tabs like Home, Insert, Draw, Design, Layout, References, Review, View, etc. Each tab includes many options to customize your document, spreadsheet, or slides. For example, you can make the text bold, italic, change the font, font size, etc. All these things are consolidated together to make the Ribbon. This Ribbon is one of the most important things in each of those programs. With this, you cannot edit your document or slide as per your requirements. However, the Ribbon can consume a lot of space when you have a small monitor. If you are using a 14-inch laptop, you might face problems while editing the file. That is why you can hide this ribbon when you are editing the document or any other file in those Office apps. There are two methods to hide the ribbon in Word, Excel, and PowerPoint. The first method helps you hide it permanently. In other words, you need to show it manually. However, the second method lets you hide the ribbon when you are doing something in the document, spreadsheet, or slide. Therefore, we are going to talk about the second method since it is handier than the first one. Note: Here, we have shown the steps in Microsoft Word. However, you can follow the exact same steps in Excel as well as PowerPoint.
How to collapse the Ribbon automatically in Word, Excel, PowerPoint
To collapse or hide the Office Ribbon automatically in Word, Excel, or PowerPoint, follow these steps: To learn more about these steps, continue reading. First, you need to open Word, Excel, or PowerPoint app on your computer. Then, click on the Options that is visible in the bottom-left corner. It opens the Word/Excel/PowerPoint Options panel. You need to make sure that you are in the General tab. If so, find the User Interface section. Here you can find an option called Collapse the ribbon automatically. You need to tick this checkbox to hide the ribbon automatically.
Finally, click the OK button to save the change. In case you want to show the ribbon all the time, you can open the same Options panel and remove the tick from the Collapse the ribbon automatically checkbox. Note: In case you want to hide the ribbon permanently, you can click on the arrow icon visible on the right side and select the Show tabs only option.
How do you collapse the Ribbon in Word?
To collapse the Ribbon in Word, you need to follow this tutorial. First, open the Word Options panel and find the Collapse the ribbon automatically option. Then, tick this checkbox and click the OK button to save the change. Alternatively, you can click the arrow icon and select the Show tabs only option.
How will you set the Ribbon to auto-hide?
To set the Ribbon to auto-hide in Word, Excel, or PowerPoint, you can follow the aforementioned guide. To get started, you must open the Word/Excel/PowerPoint Options panel. Following that, find the Collapse the ribbon automatically option. Then, tick the corresponding checkbox. That’s all! Hope this guide helped. Read: Prevent Word, Excel, PowerPoint from hyperlinking screenshots automatically